|
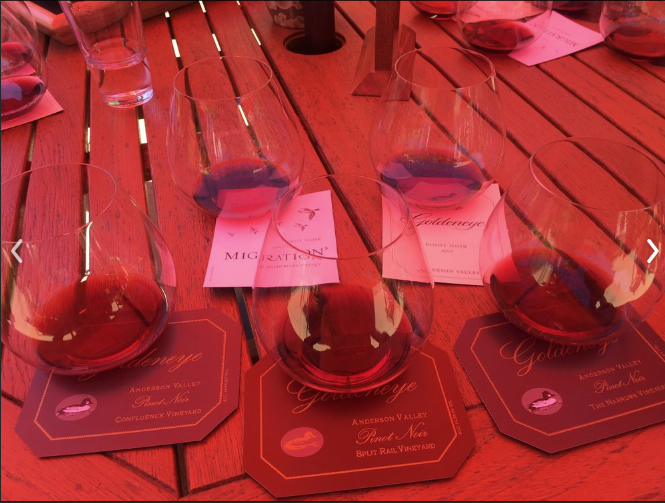
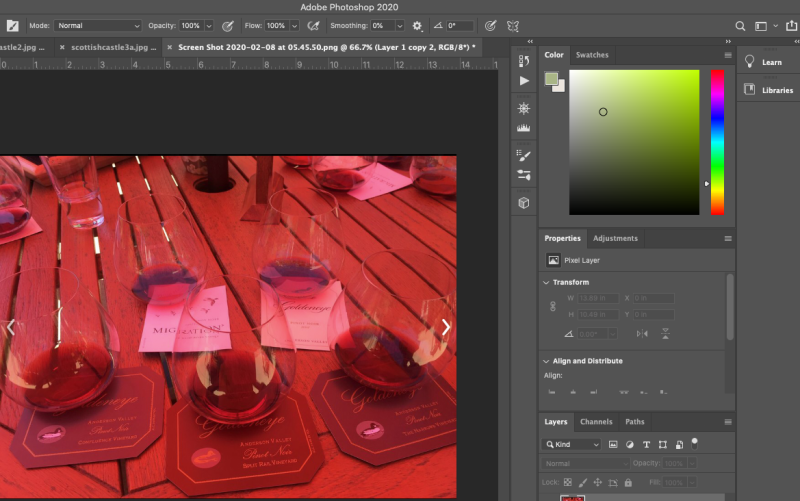
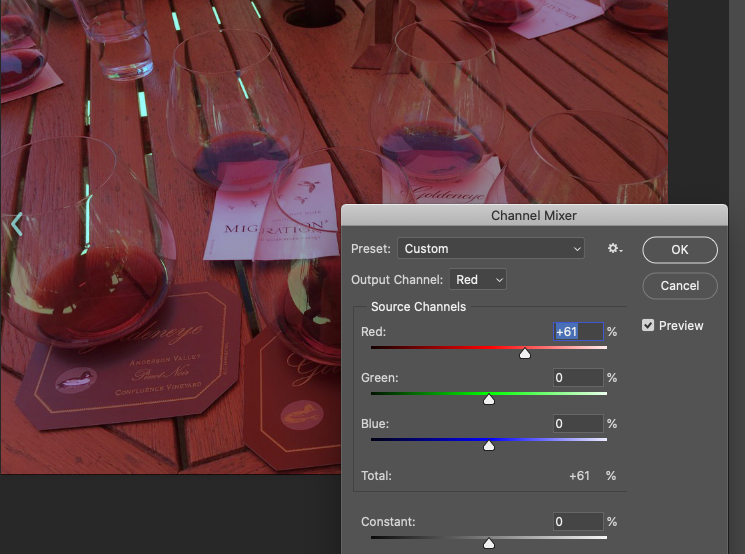
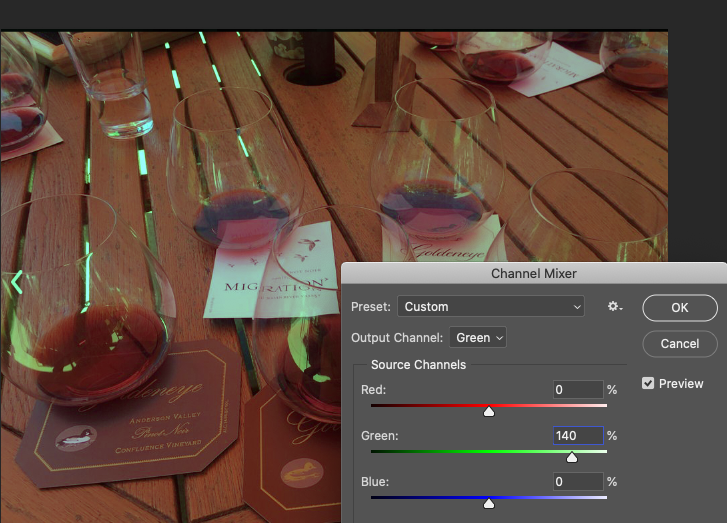
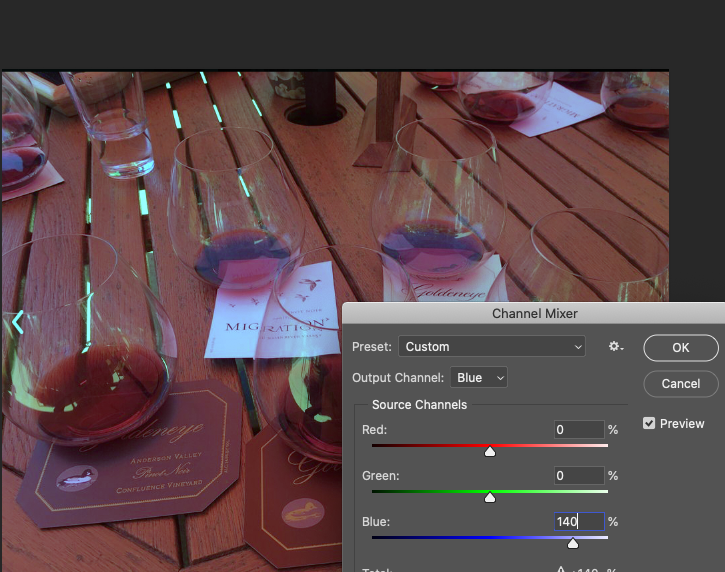
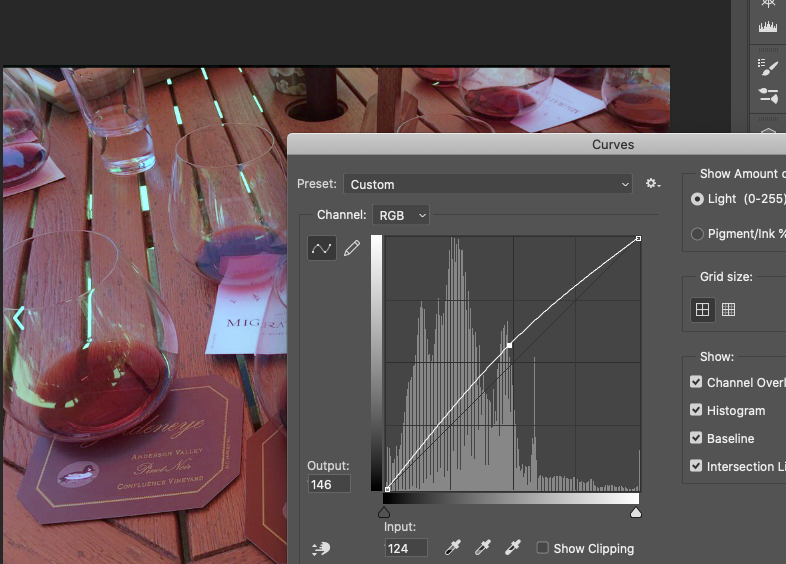
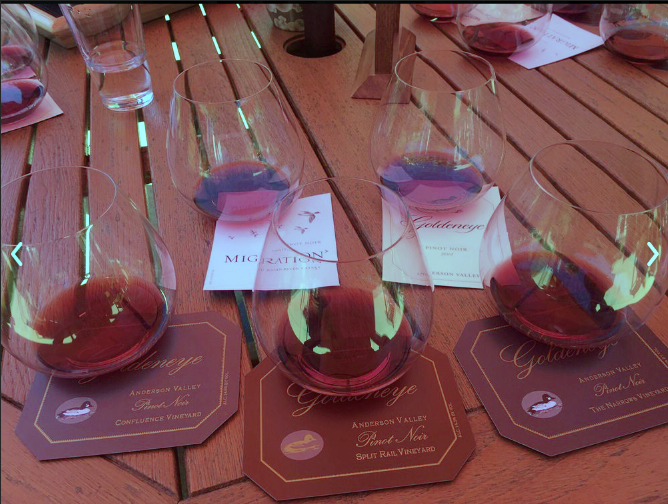
I was looking through Yelp recently as part of a wine trip. And when I was checking out the pics for Goldeneye Vineyard I came across a bunch that were just KILLED with red. I'm supposing there was some kind of red umbrella filtering all the light. Anyway, this is that it looked like: Crazy bad, right? I immediately wondered "Hmmm, can I photo correct that?" And then proceeded to do it three different ways. I thought I'd let you know the most effective of the three in this morning's quick "how to fix crappy photos" lesson. Step one - bring it into Photoshop. Step two: open Channel Mixer. A bit of background needed here. Your monitor and your TV and your phone, etc, all create their color images with just three components - something that glows red, something that glows green and something that glows blue. RGB. That's all you need. And so this Photoshop tool looks at these three color channels. What I've done below is open the Channel Mixer and then chosen Red as the output channel. And I slid the Red slider to 61%. So what that means is that I'm saying "take what red there was originally and output only 61% of that". The images changes as shown: Already it looks better but also dimmer. We'll fix the dim in the end. But first, on to the other channels! Punch up the previously weak and almost not present Green slider to 140%. Boost that green! Next, boost the blues in the same manner. Select blue as the output and slide the slider up: Ah ha! That picture looks pretty good now, doesn't it? Time to brighten. To do that I'm going to choose curves. This lets me smoothly alter how much brighter I want things to be. The darkest darks and the lightest lights stay the same and all the rest in between get increased, most strongly in the mid-tones: And with that, I'm done. A pretty reasonable pic from what was a pretty horrendously bad one. The power of color alchemy!
0 Comments
Leave a Reply. |
Categories
All
|
 RSS Feed
