|
Mmmm - cannellini beans. So good. What could be better? Well, adding garlic, that's what. That was my inspiration for today's pizza. Dinner the night before had been a cannellini soup with balsamic vinegar and olive oil. So thick that it's essentially a stew. And I though - hmmmm - this would really be good on a pizza. And so it began. I already had the dough, made a couple of days before. And I had the beans. So, I needed to get some garlic ready. I doubled over some aluminum wrap to make a steamer of sorts. Used my bread knife to cut off the tops of three heads of garlic and placed them on the sheet: 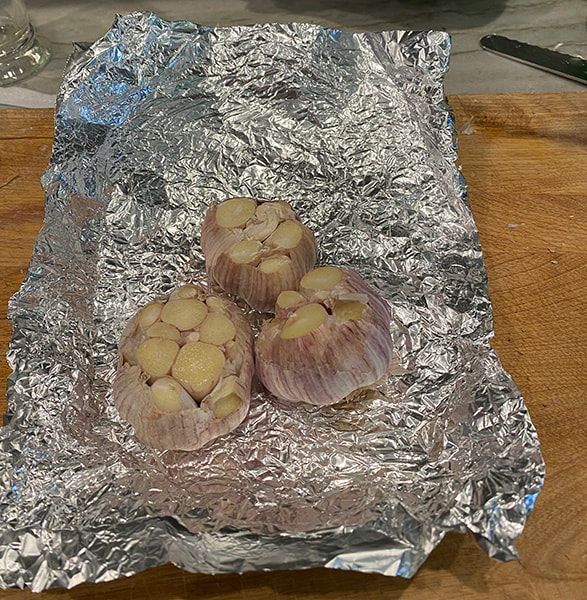 Next up, fold the edges up and fold over what's going to be the lid: 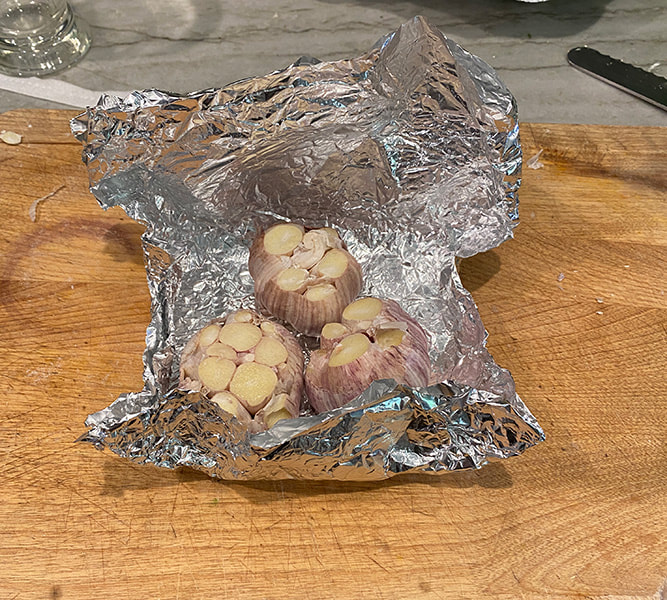 Next, drizzle some extra virgin olive oil of the tops: 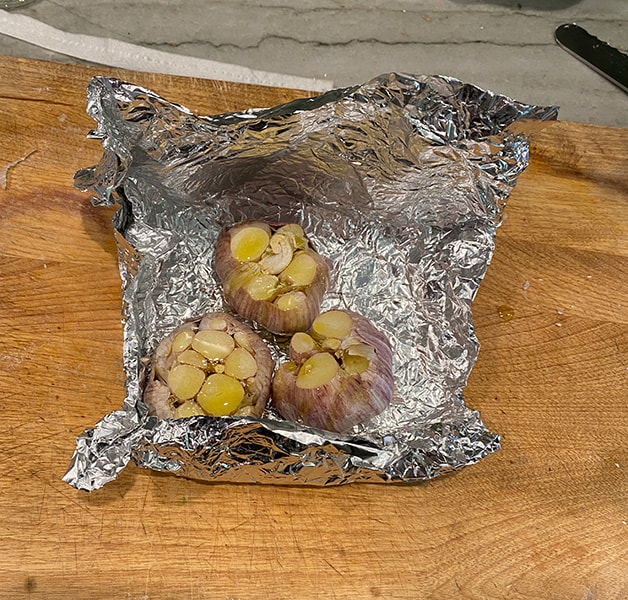 Next, fold over the top and crimp the edges: 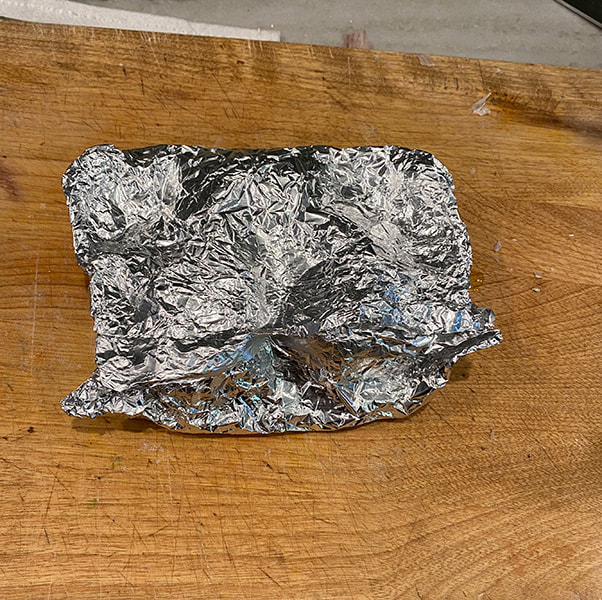 Placed it in a 350 degree oven and baked for 40 minutes. Here's what it looks like as I removed the cloves: 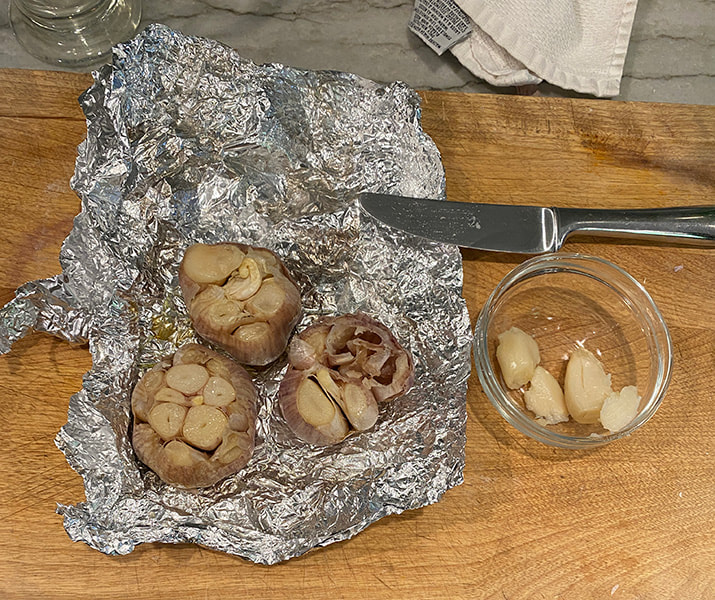 When all was done - this is what I had. I pulled out a bunch of cloves whole and then squeezed the entire head like a toothpaste tube to get all the rest out. An uncooked head of garlic is included for reference:  Now a look at the ingredients. From left to right - fig balsamic vinegar, sliced mozzarella, pureed bean stew, dried oregano, minced anchovies, tomato sauce, dough, grated parmigiana, roasted garlic, extra virgin olive oil: 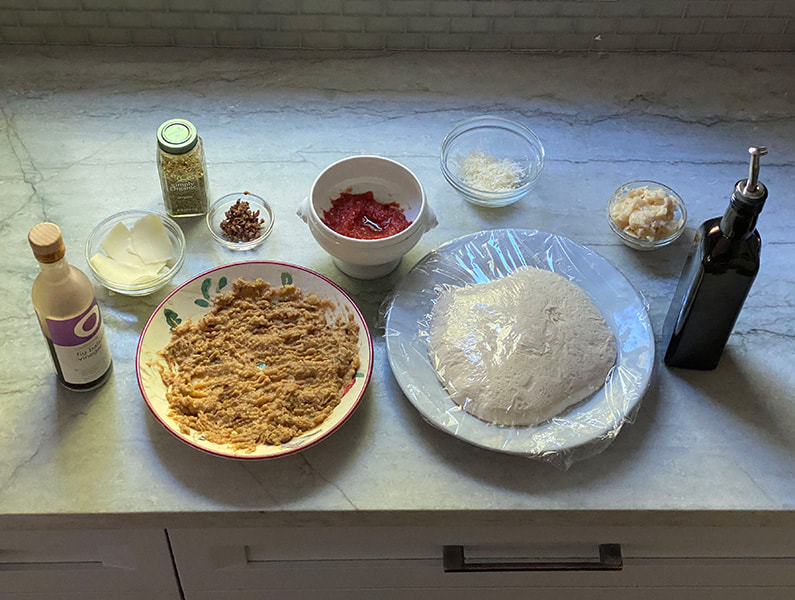 And now, time to assemble. First off, 360 g of freshly tossed dough: 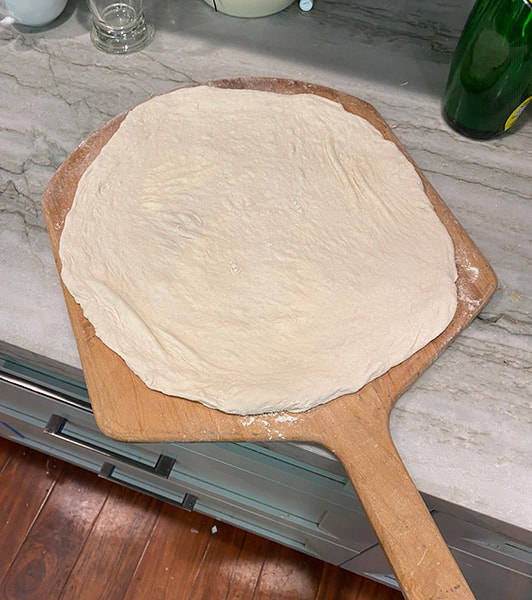 Next, a drizzle of olive oil for flavor: 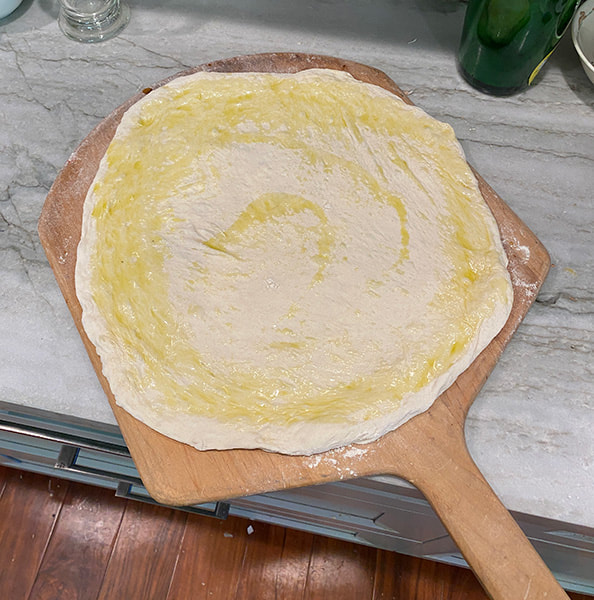 Then, a thin layer of hand fresh tomato sauce: 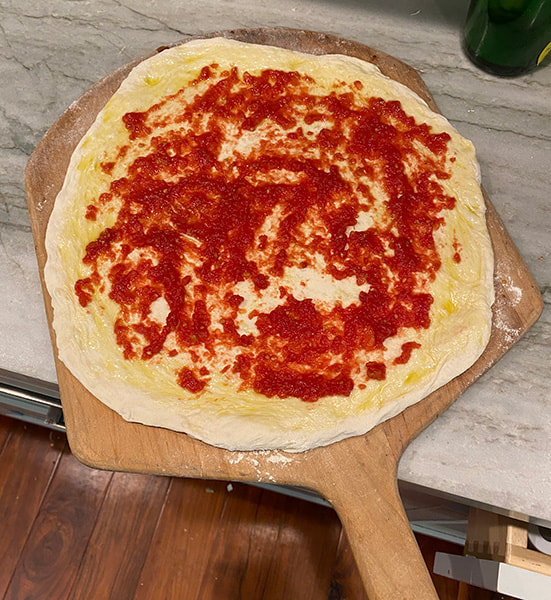 At this stage the dough was slipped into the oven (500 degrees) and let parbake for three minutes. The crust puffed up nicely and it was removed and bean puree was applied. Note that the pizza peel changed because I use the wooden one to put the pizza into the oven and the metal one to remove it: 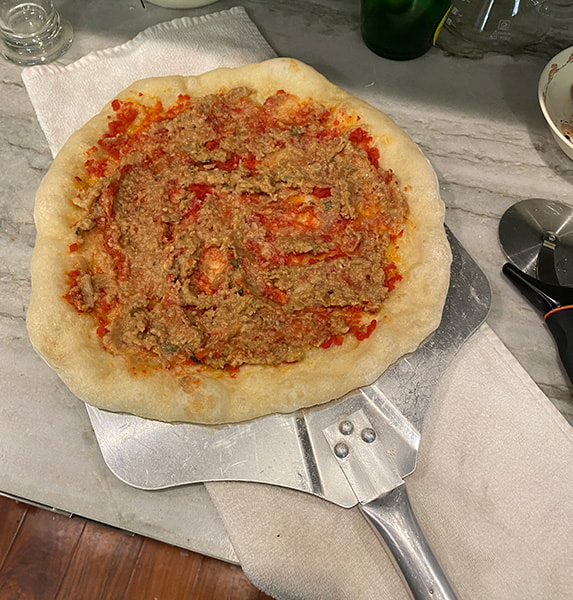 After the beans it's time for lots of garlic! 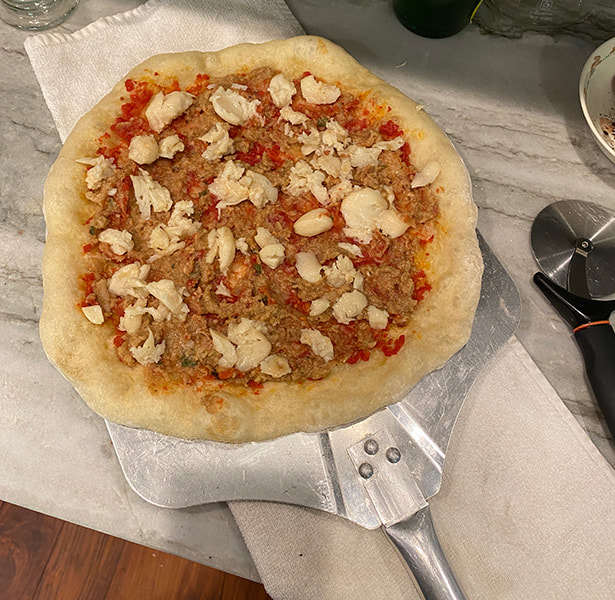 Are those minced anchovies I see?! 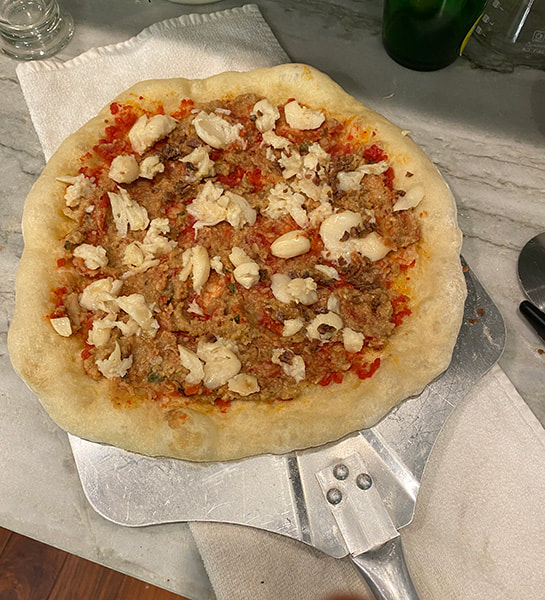 Add just a bit - but just enough - mozzarella and slider her into the oven: 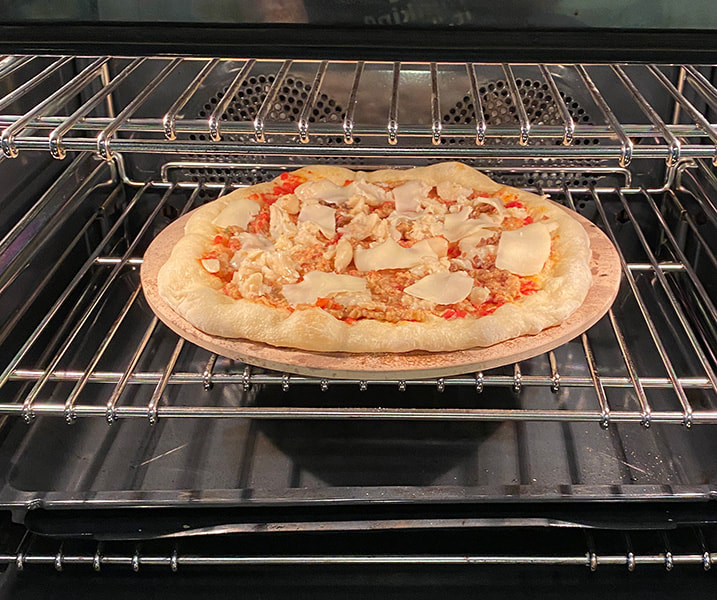 Seven minutes later - out of the oven! 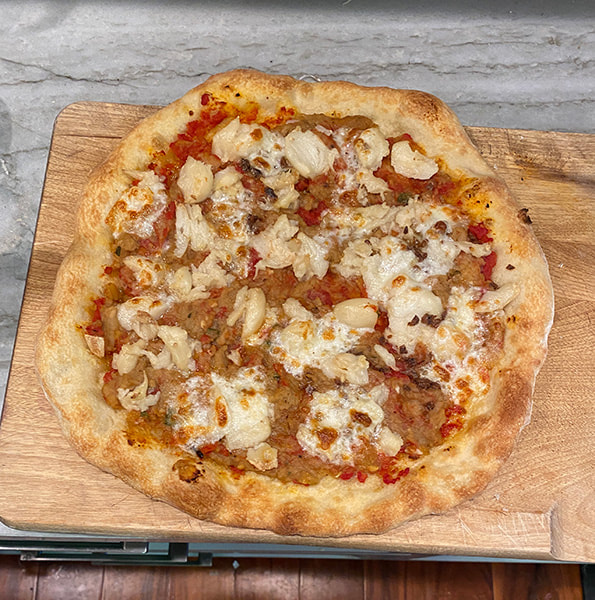 Grated parmigiana cheese and a drizzle of extra virgin olive oil: 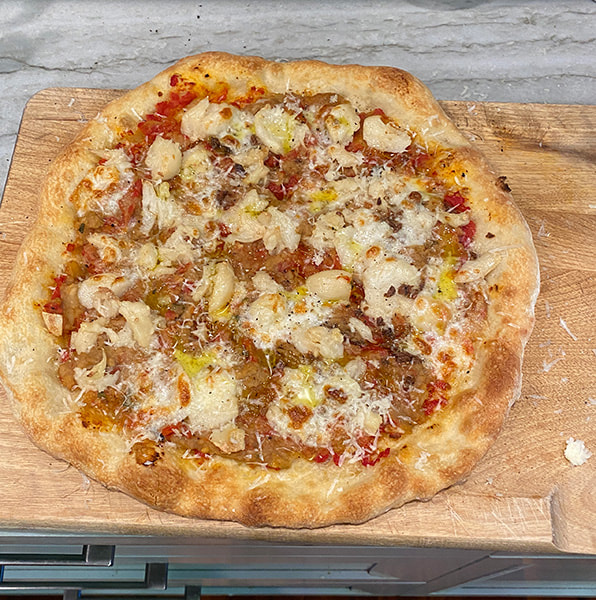 Annnnd - sliced! 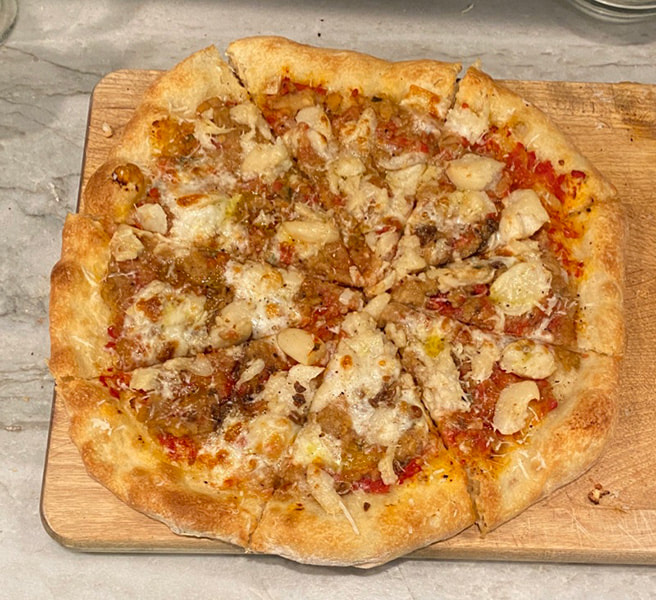 Sooooo yummy! It's worth showing what that puffy surrounding crust looks like, right? Just to see if it's light and full of baked bubbles: 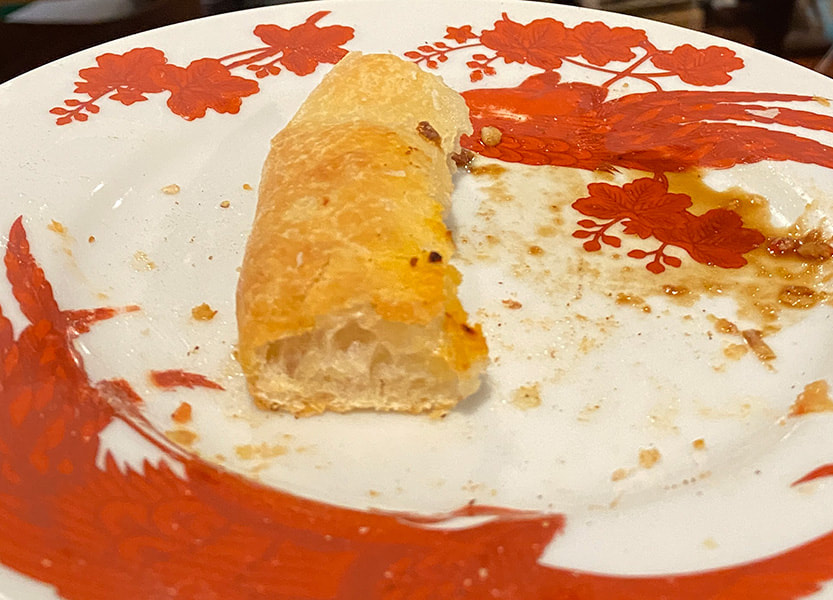 Yup, sure it. And to end the picture fest - a single delicious slice. The last one standing (but not for long!). 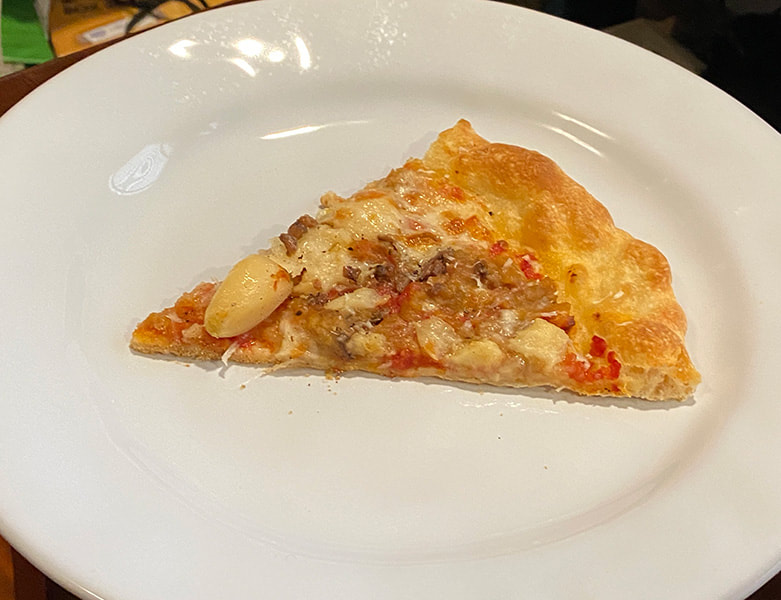 And that's it - start to finish . Interested in details as to the making of the dough and such? That'll come, that'll come.
0 Comments
|
 RSS Feed
